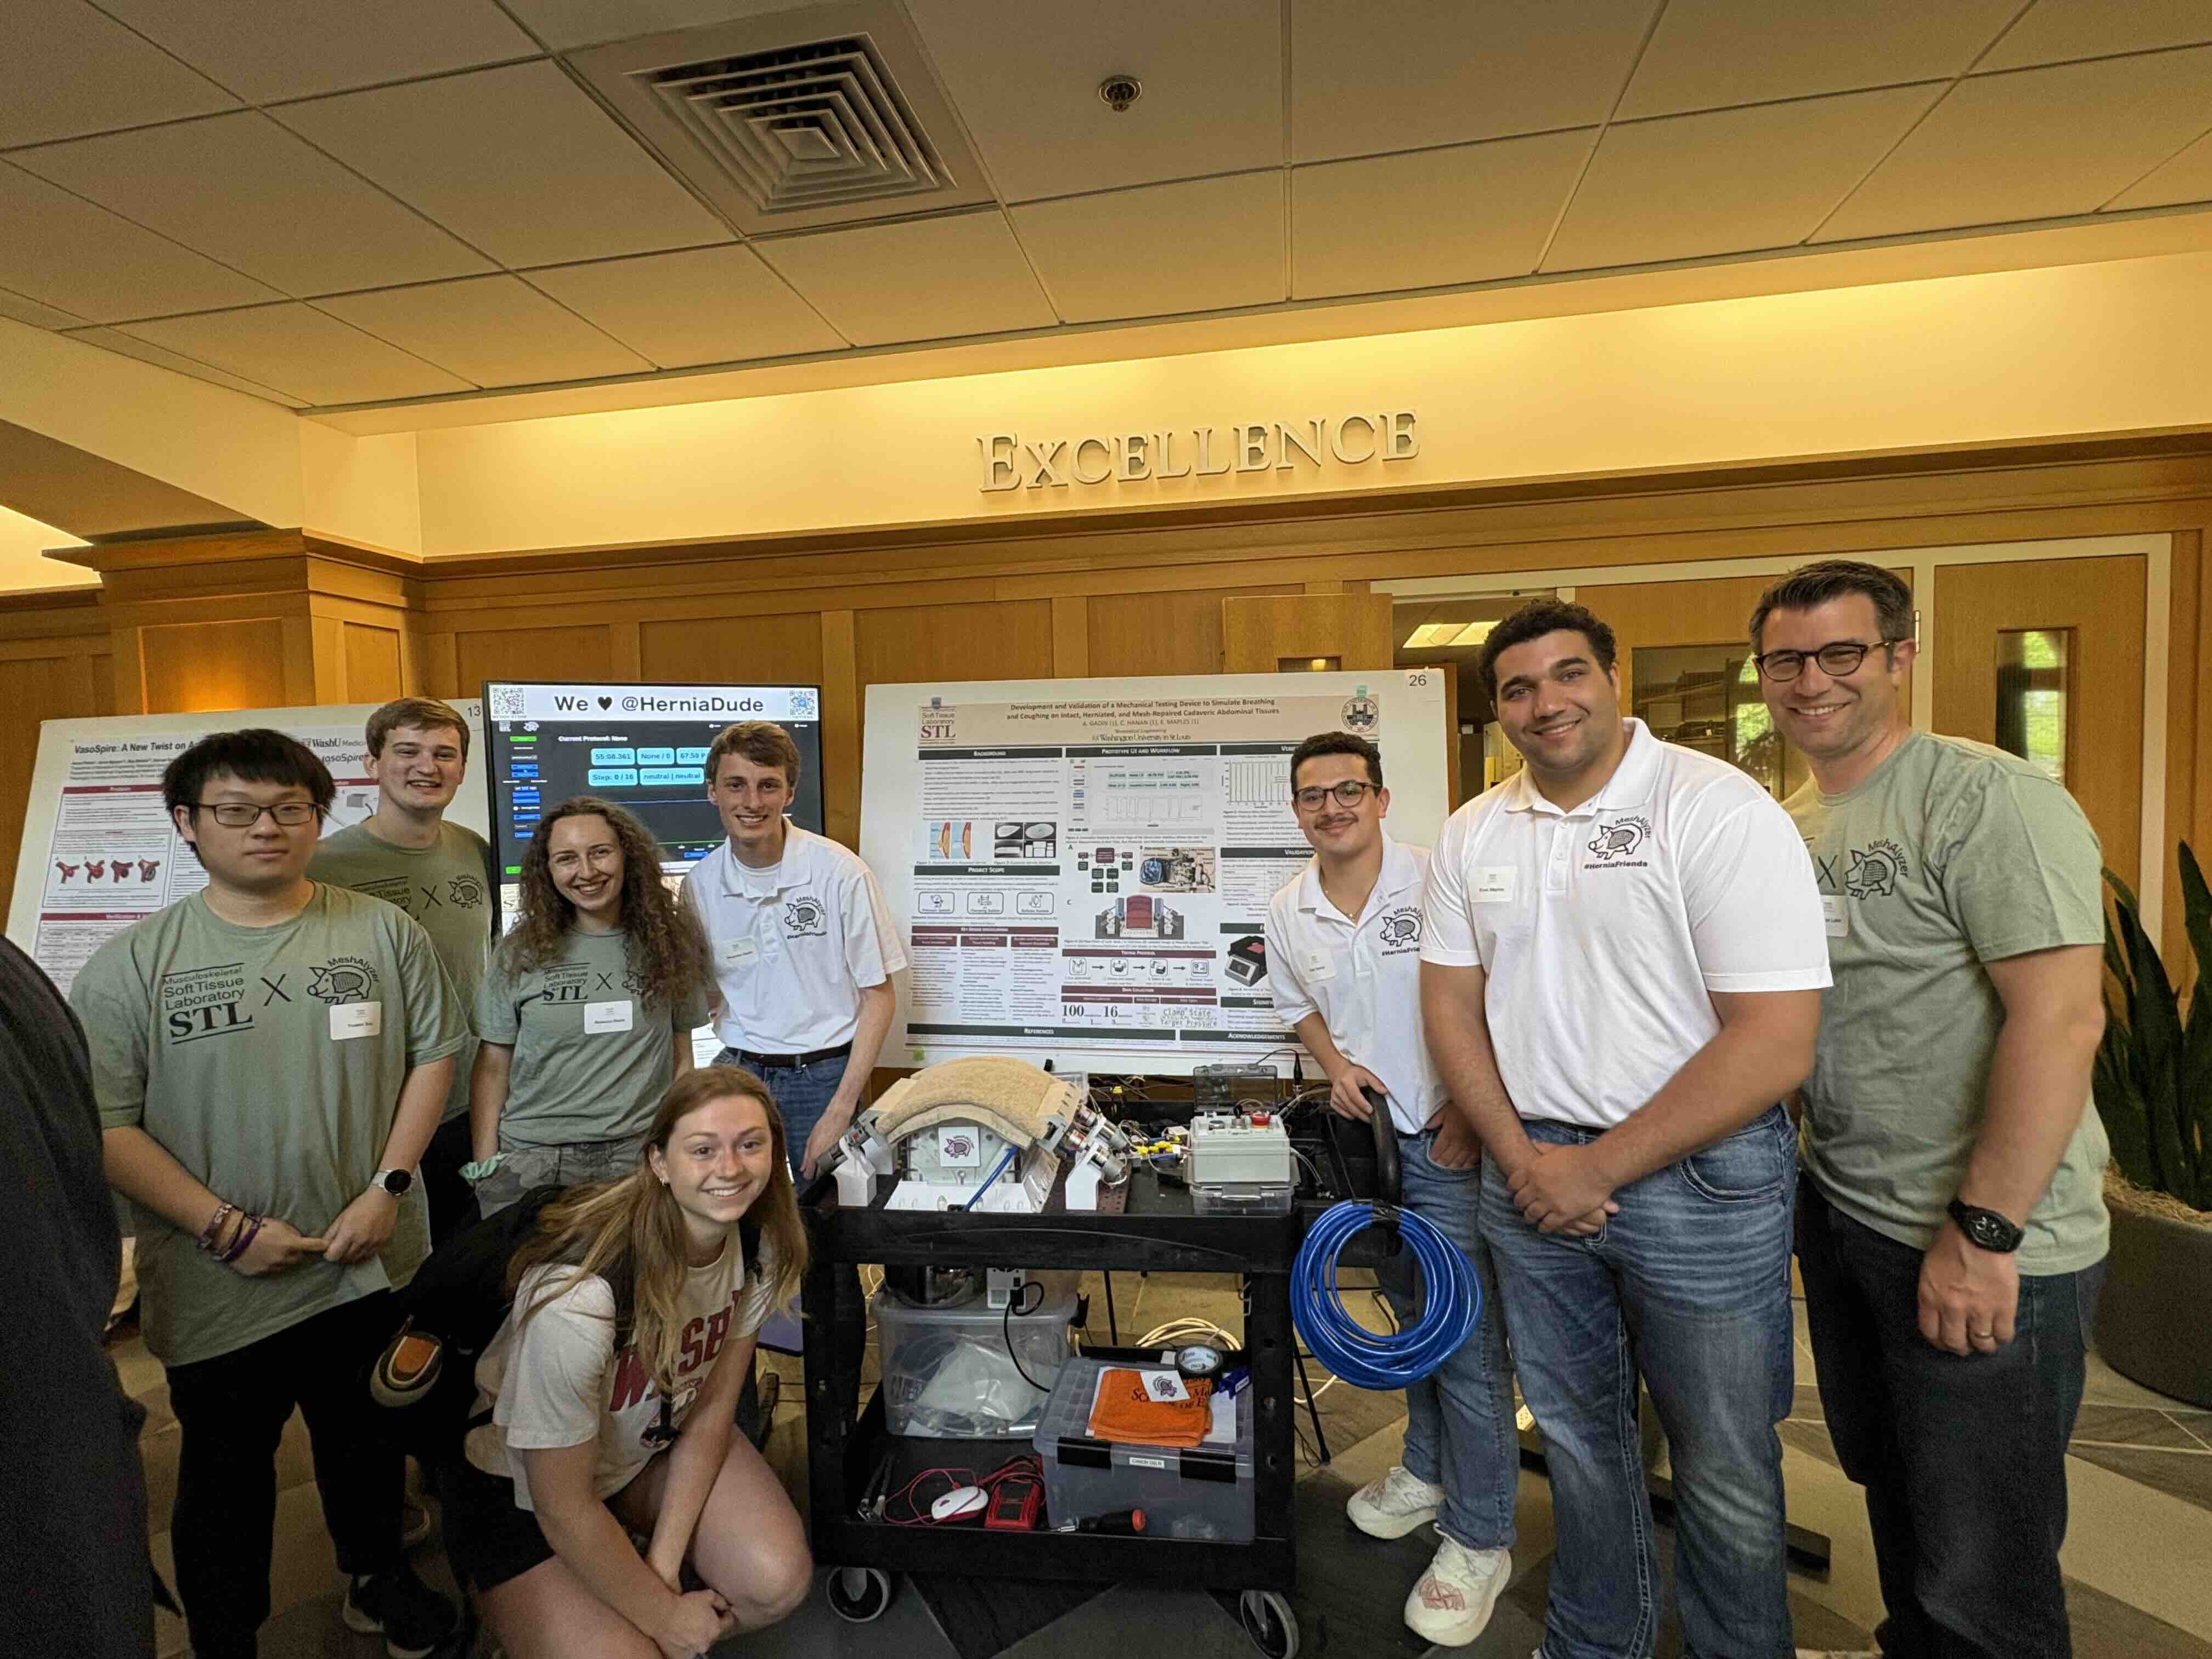
The MeshAlyzer is an advanced testing device designed to simulate realistic coughing forces and pressures on a porcine abdominal wall. It enables researchers and surgeons to evaluate hernia mesh materials under dynamic conditions, facilitating informed decisions for hernia repair procedures.
- Pressure Control System: Integrated pressure sensors with ADCs for precise measurements.
- Valve System: Two 3-position, 5-way valves controlled by four relays.
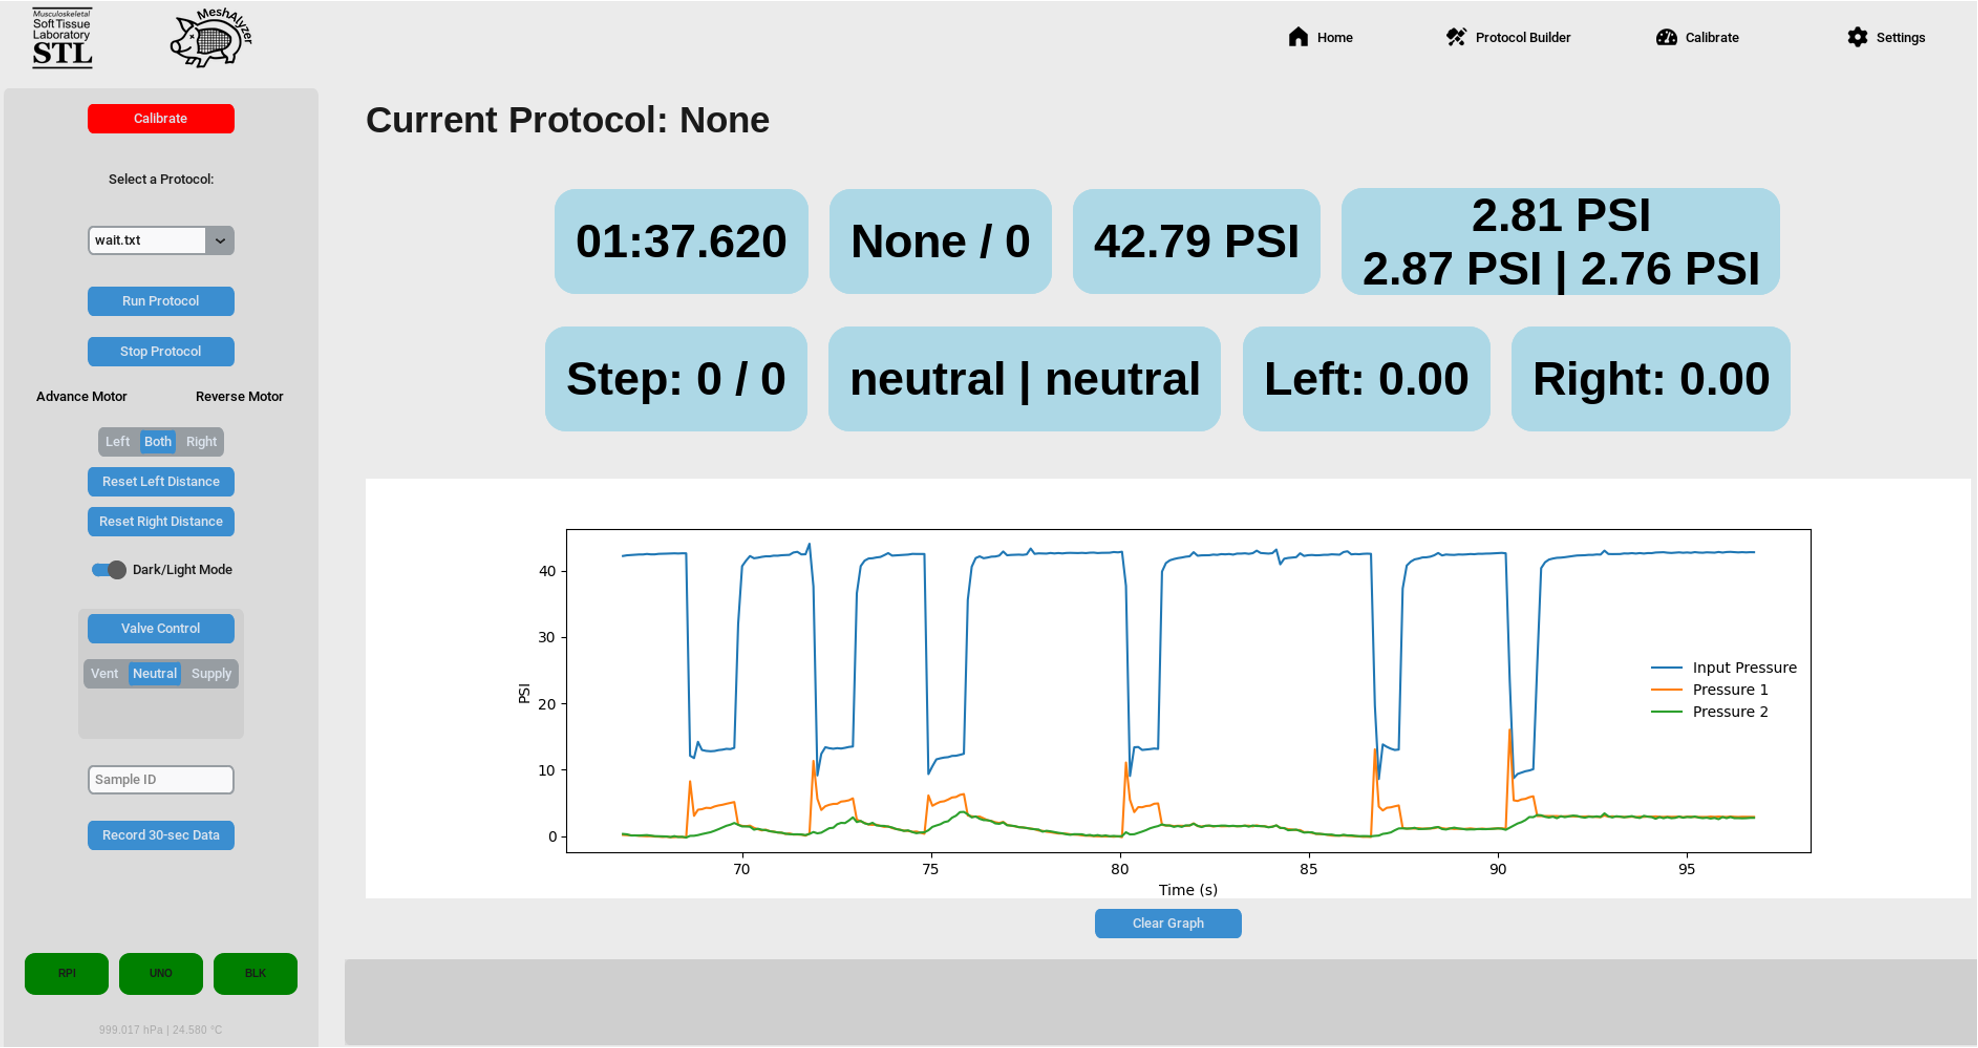
- User Interface: Customizable testing protocols and real-time data visualization.
- Data Logging: Continuous recording of test data for in-depth analysis.
- Tissue Simulation: Mimics coughing pressures with interchangeable balloon materials.
The MeshAlyzer device requires a Raspberry Pi 5 or Raspberry Pi 3 for operation. Follow the instructions below to set up your device.
-
Clone the repository:
git clone https://github.com/your-username/MeshAlyzer.git cd MeshAlyzer -
Install dependencies:
sudo apt-get install python3-lgpio
-
Set up the virtual environment (optional but recommended):
python3 -m venv venv source venv/bin/activate pip install -r requirements.txt -
Start the application:
python main.py
-
Connect hardware components:
- Link pressure sensors to ADCs as shown in the wiring diagram.
- Ensure relays and valves are connected to the Raspberry Pi GPIO pins as specified.
-
Launch the application:
python main.py
- Create automatic startupfile Create a file called '/etc/systemd/system/pi3-sensor.service' with the following content :
[Unit]
Description=Sensor Data Sender Service
After=network.target

[Service]
ExecStart=/usr/bin/python3 /home/pi/path/to/PressureSensorReader.py
Restart=always
User=pi

[Install]
WantedBy=multi-user.target
Then enable and start the service with:
sudo systemctl enable pi3-sensor.service
sudo systemctl start pi3-sensor.service
- Run the script to test the sensor:
sudo nano /etc/systemd/system/spidev-load.serviceadd:
[Unit]
[Unit]
Description=Pressure Sensor Client
After=network.target

[Service]
ExecStartPre=/sbin/modprobe spidev
ExecStart=/usr/bin/python3 /home/lakelab/MeshAlyzer/PressureSensorReader_rasp3.py
Restart=always
User=lakelab
WorkingDirectory=/home/lakelab
StandardOutput=inherit
StandardError=inherit

[Install]
WantedBy=multi-user.target
Then enable and start the service with:
sudo systemctl daemon-reexec
sudo systemctl enable spidev-load.service
sudo systemctl start spidev-load.serviceThe MeshAlyzer uses the ADS1256 ADC for pressure sensing. Follow these steps to set it up:
-
wiring diagram Connect the ADS1256 to the Raspberry Pi 3: VCC → 5V GND → GND DIN (MOSI) → GPIO 10 (SPI0 MOSI) DOUT (MISO) → GPIO 9 (SPI0 MISO) SCLK → GPIO 11 (SPI0 SCLK) CS (Chip Select) → GPIO 8 (SPI0 CE0) DRDY (Data Ready) → GPIO 7 RESET → GPIO 22
-
Install the required library:
sudo apt-get install python3-lgpio-
Setup:
- Place the porcine tissue sample on the testing platform.
- Connect the device to a power source and ensure all components are operational.
-
Run Tests:
- Open the user interface and select a protocol.
- Start the simulation and observe the test in progress.
-
Analyze Data:
- Access the recorded data logs for performance evaluation.
- Use the insights to determine optimal mesh materials.
We welcome contributions to enhance the MeshAlyzer project!
- Fork the repository.
- Create a new branch for your feature or bugfix:
git checkout -b feature-name
- Commit your changes:
git commit -m "Description of your changes" - Push your branch and create a pull request:
git push origin feature-name
This project is licensed under the MIT License. See the LICENSE file for details.
For questions or feedback, please contact:
- Cole Hanan
- Alexander Gadin
- Evan Maples
We would like to thank:
- Dr. Spencer Lake for his guidance and support.
- The BME Department at Washington University in St. Louis for resources and assistance.
- The Chemistry Machine Shop for their technical expertise.